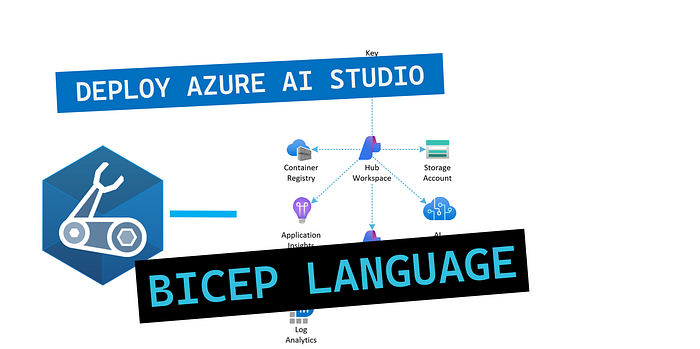
Efficiently Deploy Azure AI Studio with Bicep Language
Written on
Chapter 1: Introduction
This guide will illustrate the process of deploying Azure AI Studio utilizing Infrastructure-as-Code through Azure Bicep. Azure Bicep serves as a specialized language (DSL) that employs a declarative syntax for the deployment of Azure resources. It simplifies the use of Azure Resource Manager (ARM) templates, allowing for the definition of Azure resources in a more straightforward manner.
Prerequisites
Before proceeding, ensure you have the following:
- An active Azure account, which can be created at no cost.
- Azure Bicep installed on your local machine.
- Access to the source code available at the following URL, and contributions are welcome!
1. Solution Overview
The solution will encompass the following files:
📄 main.bicep: The primary Bicep template.
📄 main.bicepparam: This parameters file includes values necessary for deploying your Bicep template.
📁 modules: A directory containing additional Bicep files utilized as modules.
The accompanying diagram below illustrates the components that will be deployed:

The architecture diagram above outlines the Azure environment configuration for Azure AI Studio alongside other components, including:
- Hub Workspace: The central workspace connecting various services and resources, serving as the primary management layer.
- Project Workspace: A specific workspace designated for individual projects, enabling the segregation and management of development environments while maintaining a connection to the Hub Workspace.
- Key Vault: Used for securely storing and managing secrets, keys, and certificates.
- Storage Account: This will hold data for files, logs, and necessary datasets, ensuring accessibility for processing and analysis.
- AI Services: This includes various AI services such as Cognitive Services or other AI models.
- Application Insights: Offers monitoring and telemetry data for applications, collecting metrics, logs, and traces.
- Log Analytics: Gathers, analyzes, and visualizes data from multiple sources, including Application Insights.
2. Azure Main Bicep Template
Begin by creating a new file in your working directory, naming it main.bicep. Below is the file's content:
// Parameters
@description('Specifies the name prefix for all Azure resources.')
@minLength(4)
@maxLength(10)
param prefix string = substring(uniqueString(resourceGroup().id), 0, 4)
@description('Specifies the name suffix for all Azure resources.')
@minLength(4)
@maxLength(10)
param suffix string = substring(uniqueString(resourceGroup().id), 0, 4)
@description('Specifies the location for all Azure resources.')
param location string = resourceGroup().location
@description('Specifies the name of the Azure AI Hub workspace.')
param hubName string = ''
@description('Specifies the friendly name of the Azure AI Hub workspace.')
param hubFriendlyName string = 'Demo AI Hub'
@description('Specifies the description for the Azure AI Hub workspace displayed in Azure AI Studio.')
param hubDescription string = 'This is a demo hub for use in Azure AI Studio.'
// Additional parameters...
3. Parameters File
Create another file named main.bicepparam. The code below outlines the definitions for this parameters file:
using './main.bicep'
param aiServicesCustomSubDomainName = ''
param prefix = 'azinsidr'
param suffix = 'test'
param userObjectId = 'your-user-object-id'
// Additional parameters...
4. Deploying the Azure Bicep Template
To deploy your Bicep files, execute the command below:
az deployment group create --resource-group <your-resource-group> --template-file main.bicep --parameters main.bicepparam
Monitor the deployment output, as shown in the image below:
You can confirm the deployment via the Azure Portal.
For a deeper dive into the deployment code, explore the following repositories:
👉 Join the AzInsider email list here.
-Dave R.
Chapter 2: Additional Resources
The following video provides a comprehensive walkthrough of provisioning Azure OpenAI with Bicep: