Connecting Your DAW to Streamlabs OBS for Seamless Streaming
Written on
Chapter 1: Overview
Connecting your Digital Audio Workstation (DAW) to Streamlabs OBS might seem straightforward at first glance, but it can be quite challenging.

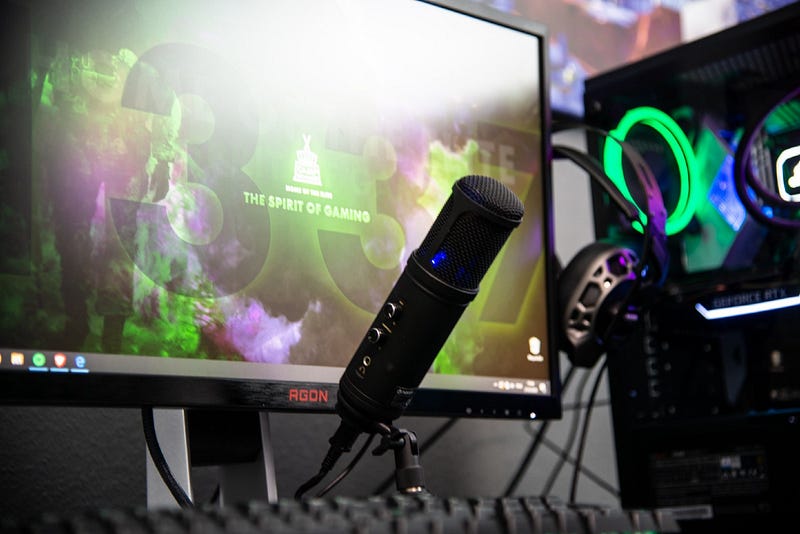
Photo: Ella Don
In my earlier article, "Syncing a FaceTime Camera on a Mac with a PC for OBS Livestreaming," I shared a method to enable live video for Twitch even without a webcam. Today, I will guide you through the process of routing audio from your DAW to OBS/Streamlabs for your streams.
My friend and fellow music producer, BLIND, provided invaluable assistance during this process. After a two-hour troubleshooting session via screenshare, we finally discovered the solution, leading to a joyous “Hallelujah!” moment. Huge thanks to him!
Recently, I upgraded to a new audio interface, which has significantly improved my sound quality and decreased latency while producing music. However, this new setup led to complications when configuring audio for Streamlabs. Over nearly three months, I scoured YouTube tutorials, read various blog posts, experimented with different tools, and experienced considerable frustration.
While streaming may seem as easy as plugging in an NES console and having fun, the reality is quite the opposite.
Section 1.1: Essential Tools
During my search for solutions, I discovered two key tools:
ReaStream by Reaper (Free)
[Reaper Official Site](http://reaper.fm/reaplugs/)
Streamlabs OBS (Free)
Once you've downloaded ReaStream, make sure to uncheck all boxes except for ReStream. It's important to place the plugin in a specific folder on your C Drive: the reastream-standalone.dll file should be located in Program Files > Vstplugins.
Next, launch Ableton and search for the ReaStream plugin. Drag it onto the Master channel and click the spanner icon on the plugin. Configure it using these settings:
- Send audio / MIDI
- IP: check the ‘Enabled’ box
- Local Broadcast: select this from the dropdown
Once you hit play on your track in Ableton, you should see a signal appearing in ReaStream.

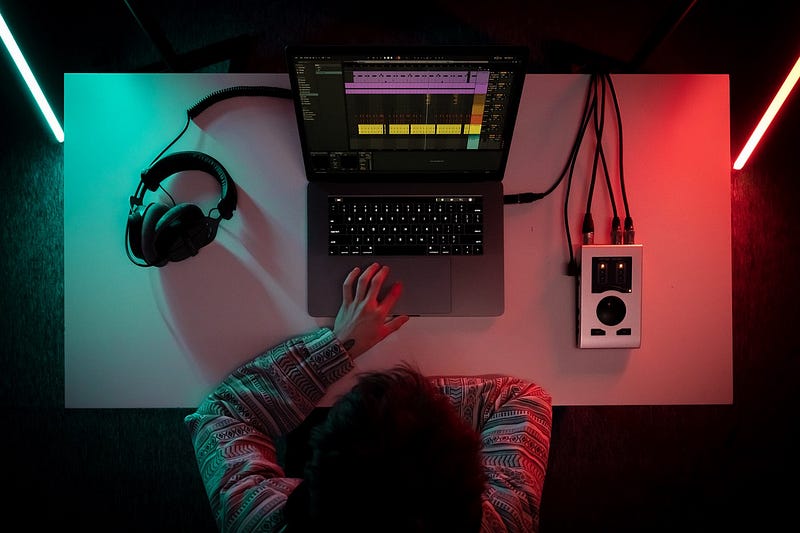
Photo: Erwi
Section 1.2: Configuring Streamlabs
Now, follow these steps in Streamlabs or OBS:
- Go to the ‘Sources’ section and click the + icon.
- Select ‘Audio Input Capture’ and click ‘Add Source’.
- Right-click on ‘Audio Input Capture’ and choose ‘Filters’ > ‘Edit Filters’.
- Click ‘Add Filter’. In the dropdown menu for Filter Type, select ‘VST 2.x plugin’. Name the filter ‘ReaStream’.
- Click ‘Add’ and choose reastream-standalone.dll from the dropdown menu.
- Check the ‘Open Plug-in Interface’ box. The ReaStream plugin will then open.
- Select ‘Receive audio / MIDI’ in the plugin.
- Right-click on ‘Audio Input Capture’ and select ‘Properties’. From the ‘Device’ dropdown, choose your audio interface.
Play your track in Ableton, and you should see the audio signal in both ReaStream and Audio Input Capture in Streamlabs.

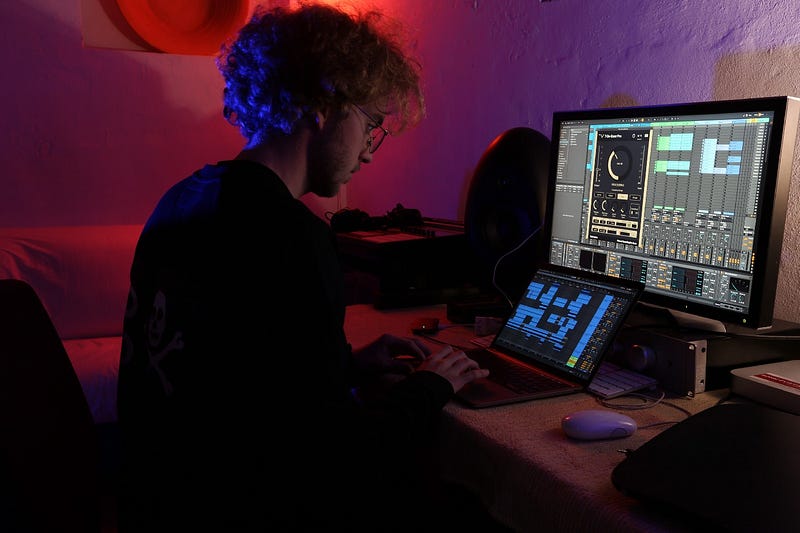
Photo: Techivation
Chapter 2: Finalizing Your Setup
If you want to include desktop audio in your livestream, follow these steps:
- In the ‘Sources’ section, click + and select ‘Audio Output Capture’.
- Click ‘Add Source’.
- Right-click on ‘Audio Output Capture’ and choose ‘Properties’. From the ‘Device’ dropdown, select ‘Speakers [your audio interface name]’.
You should now see the audio signal on the ‘Audio Output Capture’.
Hopefully, this guide alleviates some of your stress and helps you create great streams! Happy producing!
To support my music endeavors, consider checking out these two channels that truly assist artists:
- Bandcamp
- Patreon
Chapter 3: Video Tutorials
In this video, you’ll learn how to live stream audio from your DAW using Streamlabs and OBS, providing a practical visual guide.
This tutorial demonstrates how to stream directly from your DAW to OBS or Streamlabs OBS, making the setup process clearer.